Discover how to prepare pumpkin puree using a fresh pumpkin rather than a can! Discover the secret to preventing watery puree by reading on.
Therefore, the issue with homemade pumpkin puree is that it occasionally tends to be much more watery than the canned kind. Since I am aware that some folks will have homemade puree that is really watery, I typically call for canned pumpkin puree in my recipes, especially baked ones.
A recipe might truly fail because of that additional water! Since I’m a perfectionist when it comes to baking, additional liquid makes me anxious.
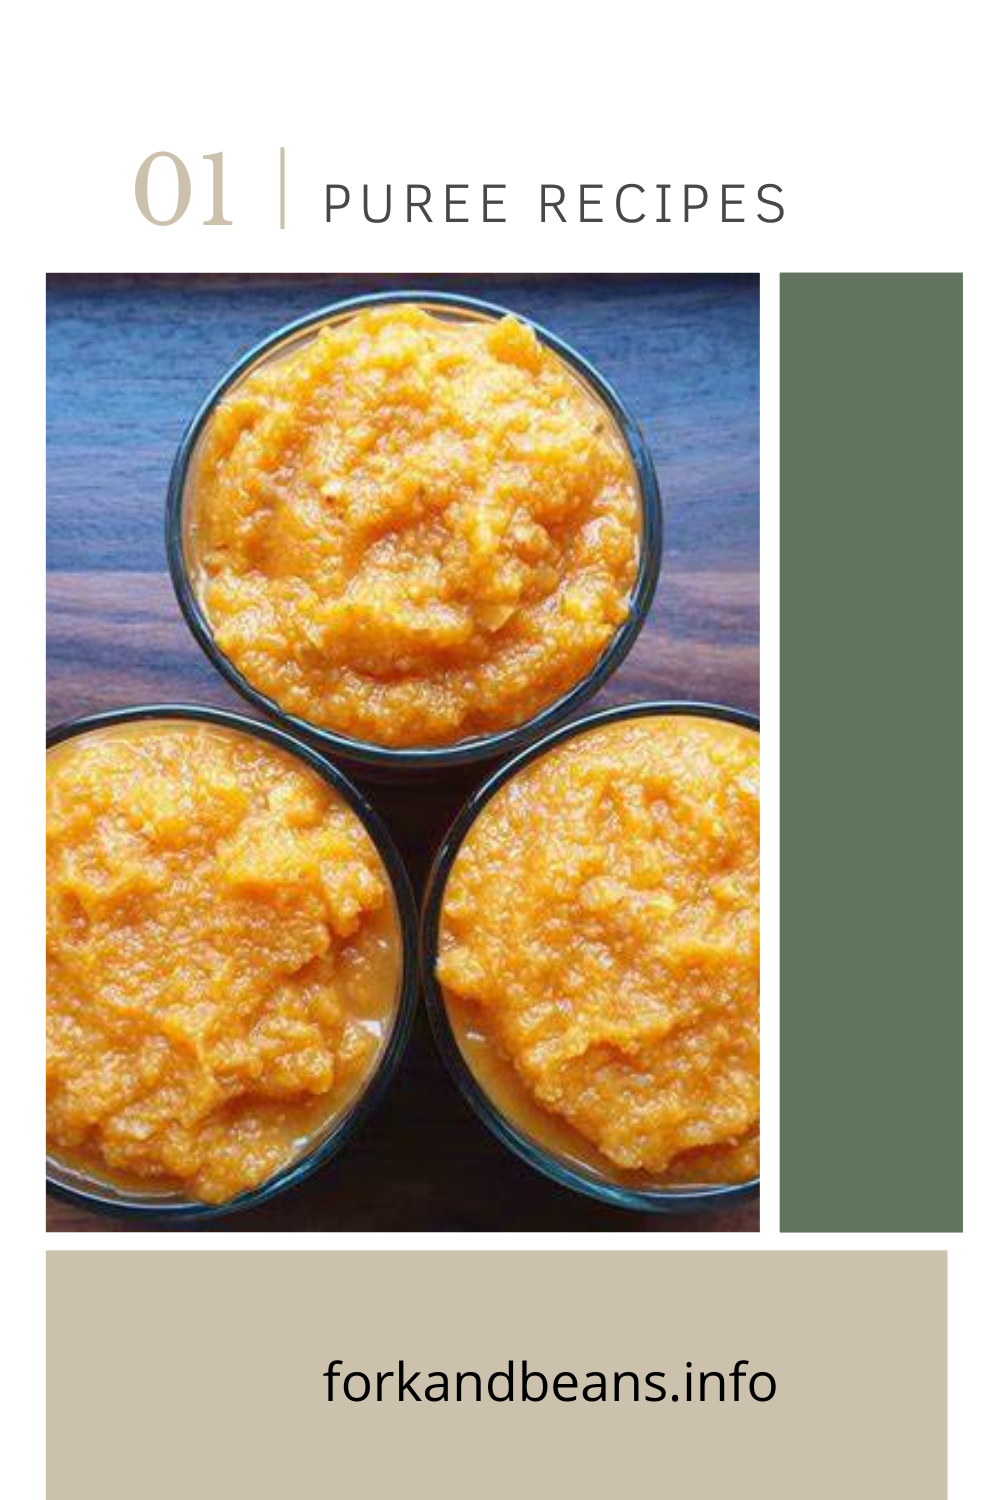
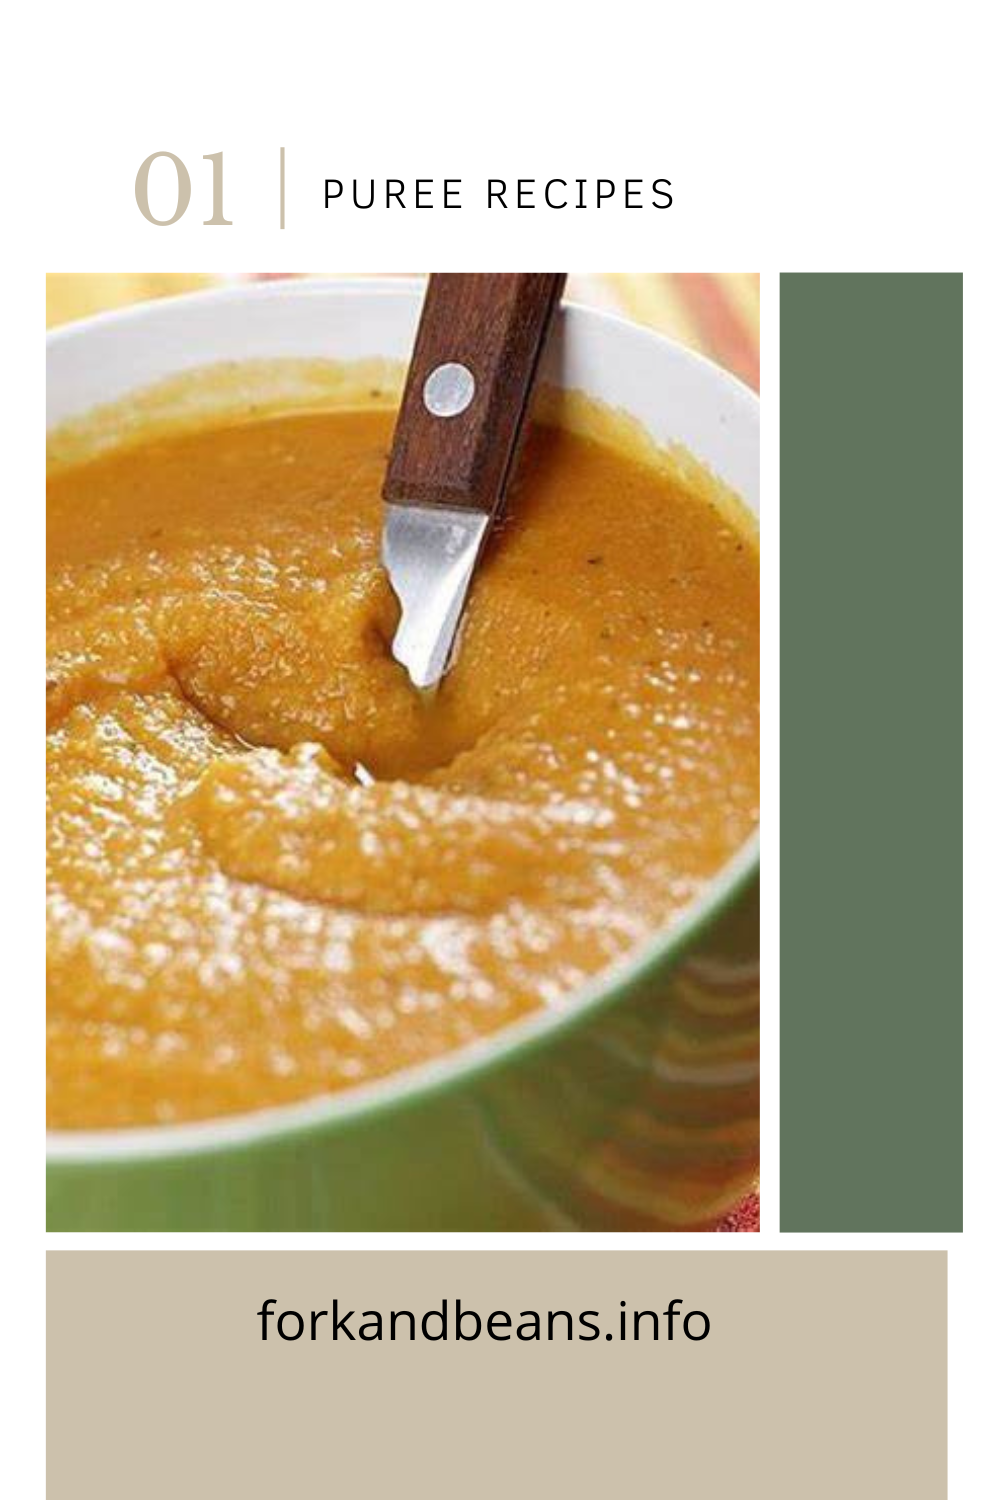
Pumpkin puree cooked at home in a bowl
I also don’t like that. I can see why you may want to create the purée yourself, though.
The recipe for homemade pumpkin puree is provided below. This recipe is for you if you’ve been putting off making your own or if you already do but it’s too watery.
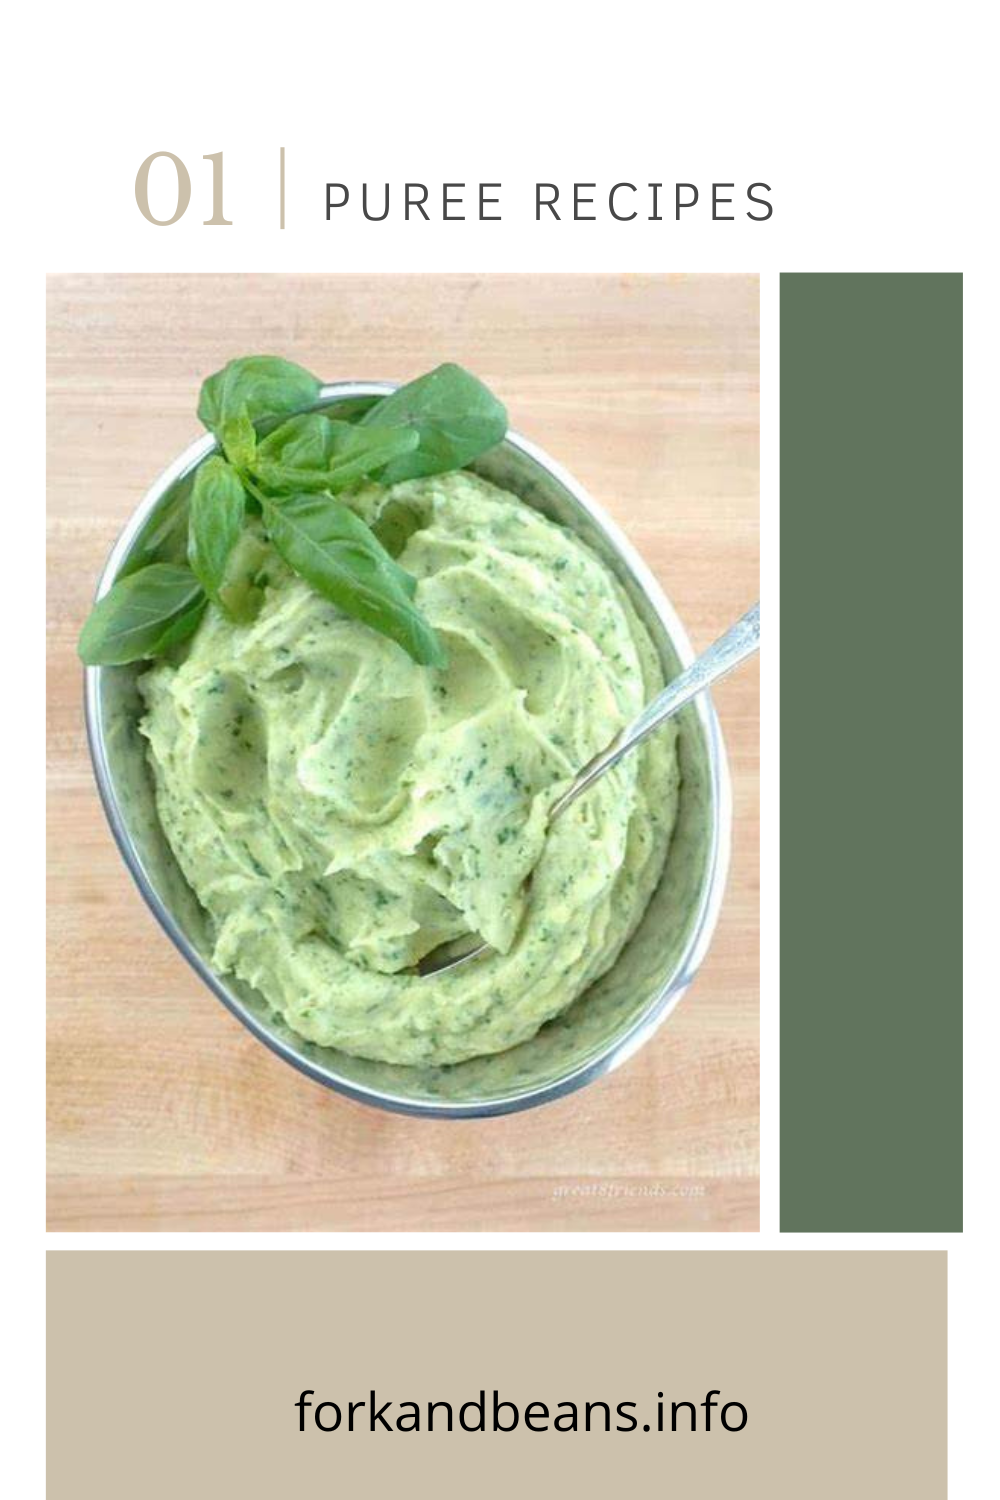
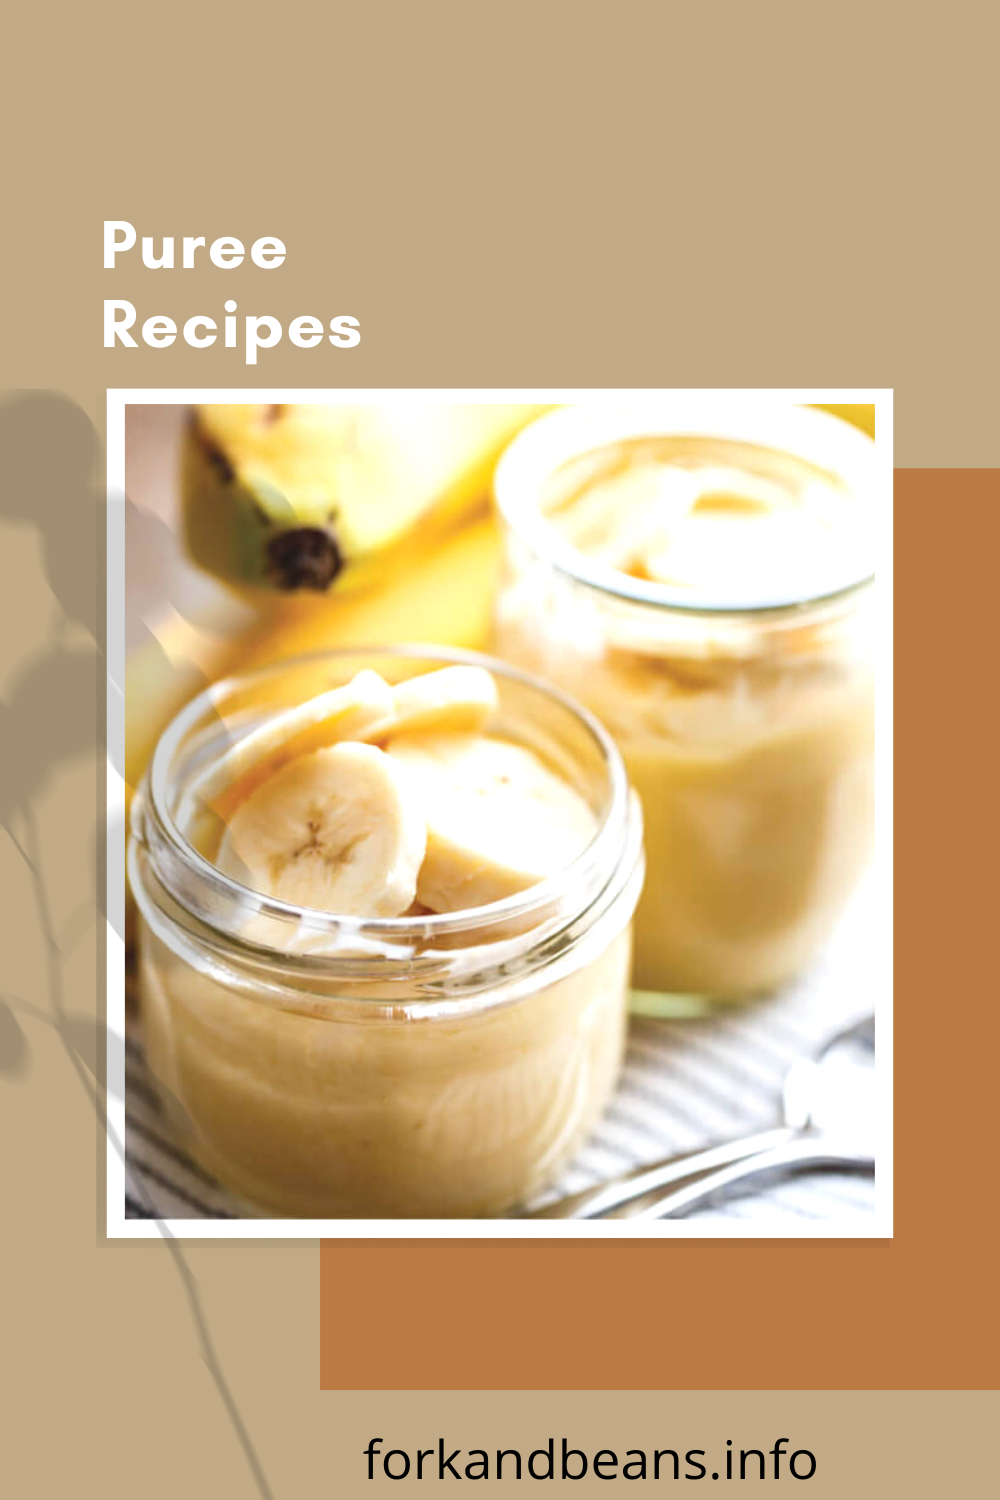
Additionally, I have some to accompany your purée if you need it. It works well in dishes like these and others.
Creating Pumpkin Puree
What kinds of pumpkins ought I to utilize to make my own pumpkin puree?
Make certain you get sugar pumpkins, often known as baking pumpkins. They are a more compact type and produce a smoother purée.
Wash your pumpkins first.
On a baking sheet, set the pumpkin halves with the sliced side up. Place the pan in the oven after adding just enough water to cover the edge of the pan approximately halfway.
Bake for approximately an hour, or until the flesh is extremely tender, at 350 °F (175 °C). Your pumpkins’ sizes will determine the precise timing.
Is pumpkin skin edible?
Yes! It’s secure and packed with nutrients. You can skip the following step, when you remove the flesh from the skin, if you’re using a sweet pumpkin or a Hokkaido. The meat of the butternut squash should be removed from the skin since it is too rough.
If you wish to utilize a different kind, you must research if the skin grows soft enough.
I would still cut off any blemished parts, like the one in the upper left pumpkin image, before pureeing.
On the other side, the puree will be slightly richer and less sweet.
After removing the pan from the oven, the pumpkin should cool for ten to twenty minutes. It shouldn’t be so hot as to damage your food processor.
Then transfer the meat to a large bowl, food processor, or blender (to blend with an immersion blender). Blend until the mixture is flawless.
How to make pumpkin puree thicker:
Over a sizable bowl, place a big sieve lined with cheesecloth. Another option is a fresh tea cloth. Add the pumpkin and let it to drain.
Your puree could drain quickly, or if it’s really wet as mine was, it might take some time to reach the ideal consistency. To ensure that everything drains correctly, it’s advisable to prepare a large number of pumpkins gradually rather than all at once like I did.
Place the pumpkin in a bowl when it appears to be the proper consistency and whisk it all together since the portions closest to the cheesecloth will have less liquid than the pumpkin at the top. Add some of the liquid from the bowl if the consistency of your pumpkin puree looks too dry.
pumpkin puree frozen:
Simply freeze the excess pumpkin puree if you don’t need much right now. The best sizes to freeze them in, in my opinion, are 1/2 cup, 1 cup, and 15 ounces (similar to a can of pumpkin puree).
In the refrigerator, how long does pumpkin puree last?
It lasts for 4-6 days in an airtight container.
Creating Pumpkin Puree
How to make pumpkin puree from scratch rather than from a can! It can be frozen and is possibly easier than you think.
Ingredients
for sugar pumpkins (also known as baking pumpkins, Hokaido pumpkins, or butternut squash)
Instructions
Before cutting sugar pumpkins in half, wash them. Eliminate the stem.
Place the pumpkin halves, cut side down, on a baking sheet after collecting all the seeds. Water should be added to the baking sheet until it reaches approximately halfway up the edge.
Place in the oven and bake for approximately an hour, or until the pumpkin flesh is extremely soft, at 350 °F (175 °C). The length of time will differ according on the size of your pumpkins.
Once prepared, take it out of the oven and let it cool until it is safe to combine.
Scoop the meat into a blender or food processor. In a bowl, you may put the cooked pumpkin if you have an immersion blender. Blend until the mixture is flawless.
If the pumpkin is thinner than the canned version, line a big sieve with clean tea towel or cheesecloth and set it over a big basin. Pour the pumpkin in and let it drain for whatever long is necessary, if necessary.
Put the pumpkin in a bowl when it has drained and combine. Put the pumpkin puree in containers or Ziploc bags once it has completely cooled. In an airtight container, it may be stored in the refrigerator for 4-6 days.
If freezing, I believe it is best to freeze in the quantities you typically use, such as a half cup, a cup, or 15 ounces (425 grams) (like a can of pumpkin). It should be utilized within three to six months, but beyond that it starts to degrade. In reality, it may be frozen for a lot longer.
Notes The yield will vary greatly from pumpkin to pumpkin, but with a starting pumpkin weight of 2 pounds (907 grams), you should expect to have a puree yield of roughly 1.5 pounds (680 grams). Pumpkin puree weighs 240 grams per cup. That translates to around 2 3/4 cups of pumpkin puree. If not utilizing the skin, that is. You will have more like 3 1/3 cups if you utilize the skin. For each pumpkin!

This is my Website with a ocer 10000+recipes of Healthy Foods, Nutrition, Vegan Salad,Vegan Pizza, Keto Food, Diabetes Recipes.